Isolating a Colony from a Soil Sample
Picking a Site
For this example, we chose two sites, just south of the Chemistry & Biology Building at Montana Tech. We named them according to preconceptions as to what would grow there (possibly not good scientific practice!). Let’s call the first site our BAD soil sample site, a dry site with some fine gravel on it:
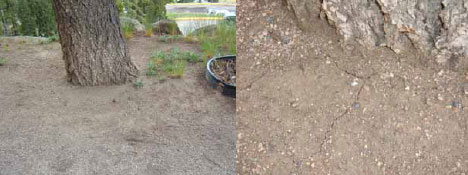
Figure 3.27: Our BAD soil sample site. The dry and gravelly conditions might lead us to expect less life here than at our GOOD site.
Image by Dr. Marisa Pedulla.
And our GOOD soil sample site, a moister, darker soil sample from under a bush:
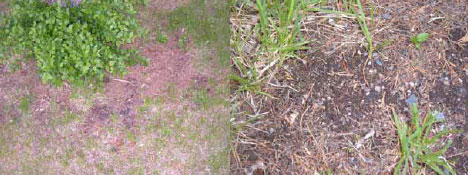
Figure 3.28: Our GOOD soil sample site. The dark, moist soil conditions might lead us to expect more life here than at our BAD site.
Image by Dr. Marisa Pedulla.
Only a small amount of soil is necessary for a culturable sample, about 1 to 2 milliliters (mls) on our sample tube. It is important to thoroughly record details of your site by taking a photo and, if possible, recording GPS and other data. Record the weather, depth, color, smell, moisture, etc, and be sure to clearly mark your sample tube:
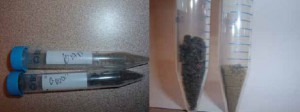
Figure 3.29: It is important to clearly label soil samples, and record all relevant data.
Image by Dr. Marisa Pedulla.
For these samples, we recorded the following details:
Samples were taken at about 2 p.m.
Weather-wise, it was just starting to rain.
The previous day had been warm (70F) and sunny, but the past week had had several rain showers.
Out GOOD sample was dark brown, almost black, and fairly coarse and moist with “dirt” smell.
Our BAD sample was light brown, fine in texture, very dry, without odor.
In the Lab: Label, Soak, Plate, Spread, Grow
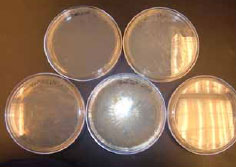
Figure 3.30: It is important to clearly label petri dishes, and to ensure that we have good control samples (water and saline).
Image by Dr. Marisa Pedulla.
When working in the lab, to ensure the integrity of our experiment, we must take extra care to avoid touching any sterile surfaces to any other surfaces!
To begin in the lab, we labeled the bottom (agar side) of 5 petri dishes using a permanent marker, writing only on the edge of the plate and in little letters, so as to not block the results! We labeled them with the sample date (6/4/09) and GOOD, BAD, Water, Saline, and BAD with Bleach to distinguish our original two field samples from our controls (water and saline) and our more “experimental” sample, a BAD soil sample mixed with bleach.
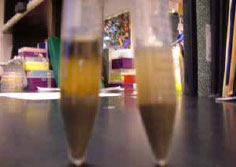
Figure 3.31: Samples are soaked with 5 mL of water and let sit for about two minutes.(water and saline).
Image by Dr. Marisa Pedulla.
We put sterile water up to the 5 mL mark for each tube, then put the cap on snugly and mixed thoroughly by shaking up and down. Then we let them settle for about two minutes.
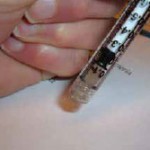
Figure 3.32: Make sure that you don’t touch the sterile syringe end with the hole with your hands or to any non-sterile surface.
Image by Dr. Marisa Pedulla.
To use the 1 mL syringe to measure 100 ul (1/10 mL):
a. Remove syringe cap if it has one;
b. Suck up liquid in syringe- about 0.1 mL by pulling up on the plunger slowly
until just 1/10 of the syringe is full (take care not to pull the plunger all the way out).
Remember don’t touch the sterile syringe at the end with the hole!
Open the Petri dish lid, taking care not to touch the inside, and set it on the table upside down. Slowly put the liquid onto the center of the agar on Petri dish by depressing the plunger. Open the sterile spreader from the NON-BENT end and hold it at the straight part, avoiding touching the business (short) end. Spread the liquid back and forth evenly all over the plate (multiple passes and turning of the plate are required). The photos and video below illustrate this process:
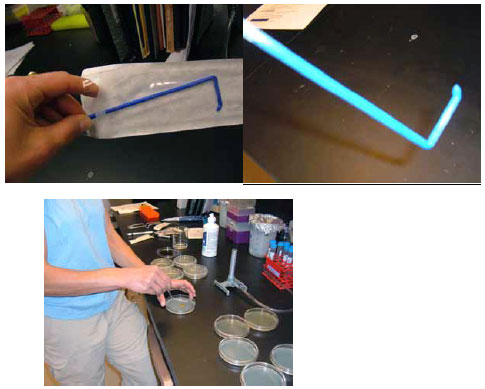
Figure 3.33: Open the sterile spreader from the NON-BENT end and hold it at the straight part, avoiding touching the business (short) end. Spread the liquid back and forth evenly all over the plate (multiple passes and turning of the plate are required).
Images by Dr. Marisa Pedulla.
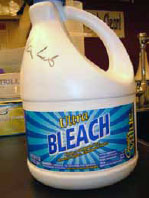
Figure 3.34: The importance of a negative control in experiments like this can not be overstated. For a negative control, we mixed one sample with bleach, and also used sterile water and saline only.
Image by Dr. Marisa Pedulla.
Put the lid back on, turn the plate upside down, and let it incubate. Check it every day for colonies. They should grow quickly, depending on the temperature of your room. We left these overnight at room temperature (from around 2:30 p.m.).
For some controls, we also plated 1/10 mL each of sterile water and saline only (on separate plates). We then added 5 drops of bleach to the GOOD tube and shook it up well and let it settle for two minutes then plated 1/10 mL of that on the GOOD plus bleach Petri dish.
The importance of a negative control cannot be overstated! If you plate the sterile water only, how many colonies do you expect? What about the good versus bad samples? What about the good sample with bleach? What does that demonstrate (show) about the colonies you DO get with the soil sample?
In recording out results, we want to note the number of colonies, describe them (shape, sheen, color), and record the times when we make our observations. For our samples, after one day we saw NO colonies at 8 a.m. The samples were moved into a 37 degree incubator until 1 p.m.
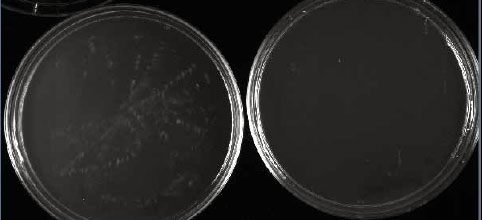
Figure 3.35: After 1 day, our saline (at left) and water (at right) controls were still blank.
Image by Dr. Marisa Pedulla.
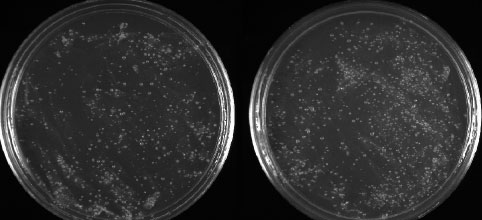
Figure 3.36: Our BAD sample (at left) had colonies after 1 day, and maybe is not so “bad” after all. Our GOOD sample (at right) had more colonies than the BAD sample, but on the same order of magnitude.
Image by Dr. Marisa Pedulla.
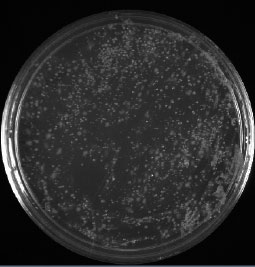
Figure 3.37: And, shockingly, our GOOD sample plus 5 drops of bleach had about the same number of colonies as our GOOD sample without bleach.
Image by Dr. Marisa Pedulla.
We would expect our GOOD sample with added bleach to show no colonies due to the bleach addition. What possibilities could explain the appearance of colonies in our GOOD plus bleach sample? How should we address this discrepancy?
To try to explore this sample further, we added 1 mL bleach to our GOOD plus bleach tube, shake and replate 0.1 mL as before. To try to gain additional information about what might be happening, we also shake and replate 0.1 mL of the BAD sample with bleach.
Check Your Thinking: What is the media (agar) on the Petri dish for?
Right-click or ctrl-click this link to download.